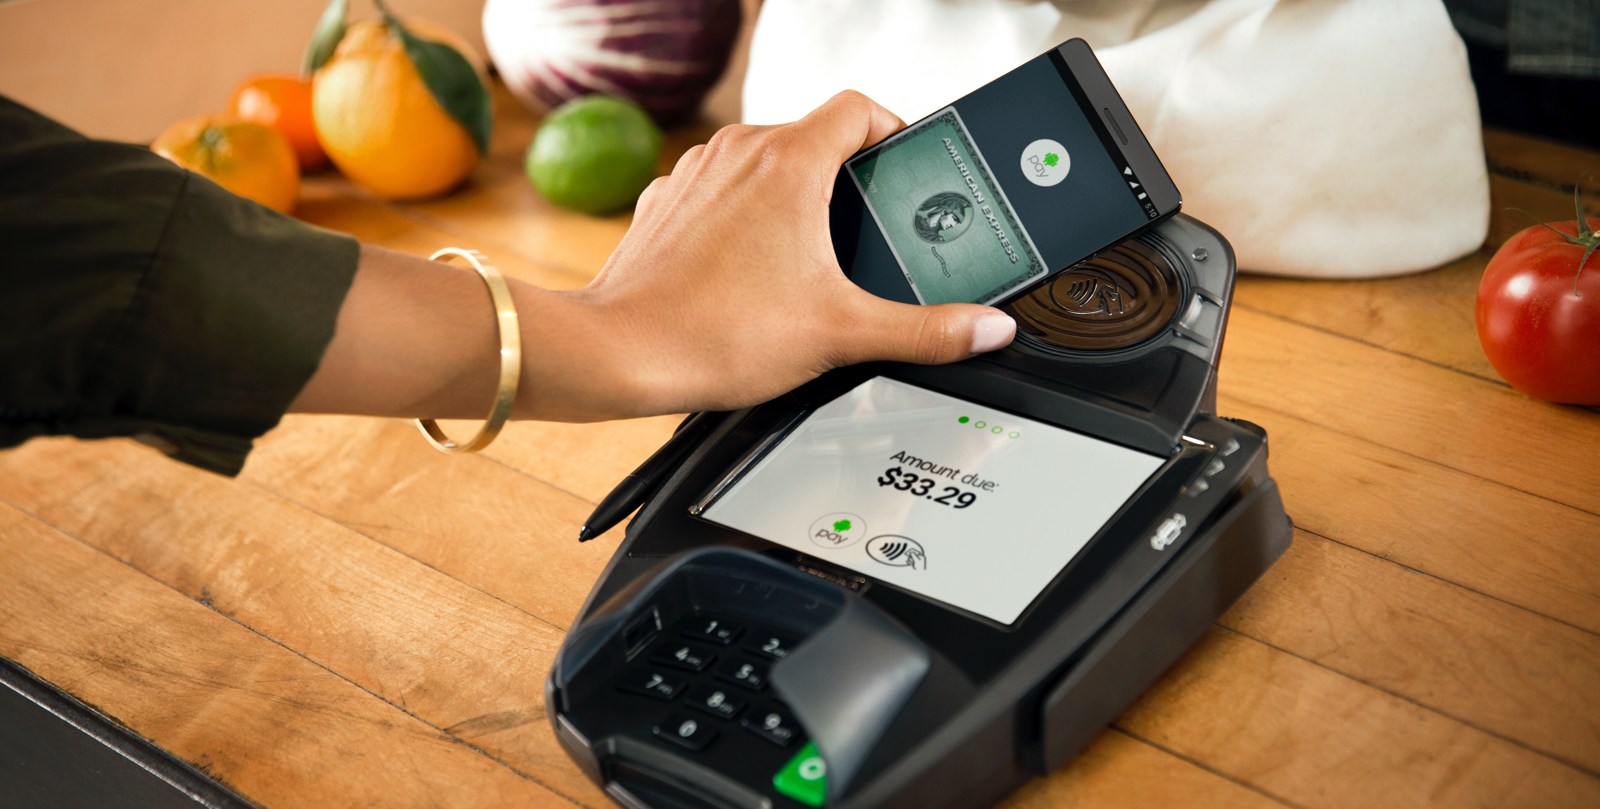
A new form of payment has managed to find its way into the mainstream: smartphones. Both major smartphone manufacturers, Apple and Samsung, have developed their very own ‘smart pay’ apps, called Apple Pay and Samsung Pay respectively. Google’s counterpart is Google Pay.
The tech giant jumped into the game quite early on, back in September of 2015. As of October 2017, though, the system has been re-branded to Google Pay. Before diving into the details about setting and using Google Pay, allow me to familiarize you with the basics of the term ‘contact-less payments’.
What are contact-less payments and how do they work?

In a nutshell, contactless payments are credit cards, debit cards, smart cards and other devices (including smartphones), that use a close-proximity wireless technology such as (but not limited to) Near Field Communication (NFC). It allows consumers to seamlessly make a payment by waving their card or smartphone over a reader at checkout.
Since no verification is required, contact-less payments can be faster when compared to conventional credit cards. The credit-card like payment is generally not as fast as simpler e-Wallets such as Suica in Japan. However, e-Wallet cannot draw money from a bank or credit account, that is why they are a bit less secure in case of theft. The thieves can easily use an e-Wallet until it is depleted. Smartphones are secure and require some kind of verification every time.
How to set-up and use Google Pay (aka Android Pay)
Setting up and using Google Pay is a ridiculously simple process. But before going into the steps, since the app is limited to a specific number of countries, first make sure that yours is included in the list.
Countries where Google Pay is available: Australia, Belgium, Brazil, Canada, Czech Republic, Hong Kong, Ireland, Japan, New Zealand, Poland, Russia, Singapore, Spain, Taiwan, Ukraine, United Kingdom and the United States.
In terms of device compatibility, your smartphone must run on Android 4.4 KitKat or higher, and come with NFC. You can see your version of Android by opening the Settings app and tapping on About phone. There you can find all the software-related information.

With respect to NFC, to figure out if your device supports it, head up again to Settings, look for the ‘Connectivity’ tab, tap on it, and there you will find the NFC toggle – if your smartphone supports it.
Once all of the above have been checked off the list, just head over to the Play Store, look for ‘Google Pay’ and download it – it’s free. The first time that you open the app, you will be asked to sync a credit or debit card, or your PayPal account. Select your option and hit continue.
If you are using a card, you can either type in the info manually, or automatically by lining up the card in front of you and taking a picture of it – once you do, hit continue.
For further verification, Google will then ask to send you a code either via text or email. Take care of that as well and then mission accomplished.
Google Pay also features a map with places near you that support it.

To make the payment, simply put the back of your device (or the front end, depending on where your device’s NFC module is located) against the scanner and Google Pay should launch automatically – you might have to type in your password first. The payment will be completed within a matter of seconds, without the need of filling out any extra info.
If you encounter any problems while trying out any of the above or have a recommendation to make, feel free to shoot a comment down below.
Filed in . Read more about Android Pay, Google, Google Pay and Money.